There are many escape rooms that face different situations in which they need to have a powerful manager to administer their gamemaster and/or rooms. Next, we will explain to you the most common scenario of configuration, e.g. you have a gamemaster that has two games sharing the same schedule.
 Keep in mind: resources can be configured in many ways and not only following this example. However, if you have any questions about this, please don't hesitate to contact us through the More button of your TuriTop's control panel.
Create the Resource
Step 1: Go to the Company tab >>> Resource manager
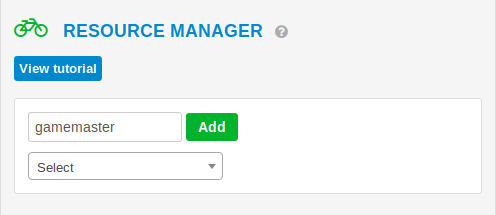
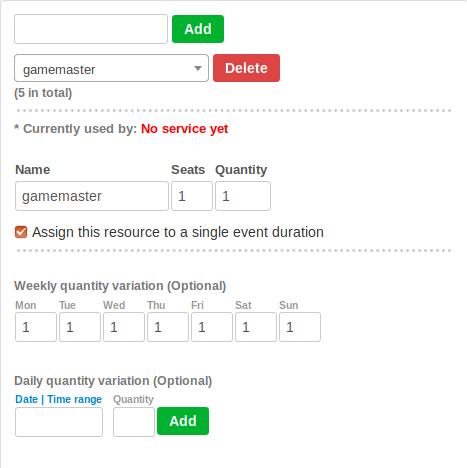
The first step is to create a resource which, in this case, will be a gamemaster. Enter the resource's name and click on the "Add" button. Then, you will see new options being deployed.

Step 2: Configure the Resource
In this case, it has just one gamemaster therefore, in the quantity box, enter the value "1". Then, in the seat box, enter the value "1". The point is that one ticket is sold per session/event.

Share the Resource
Step 1: Assign the resource to a Service (game/room)
There are two things that you should consider in order to associate a resource to a service:
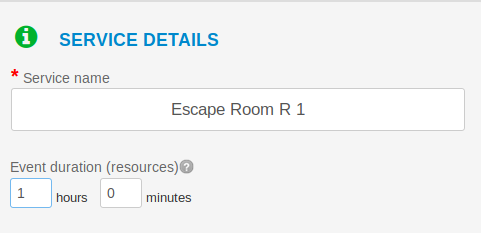
Go to Services tab >>> Select the service >>> SERVICE DETAILS >>> Event duration. For example: in this case, it is a visit to the museum that takes 1 hour.

Next, go to the Tickets section and, in the first box where says "Use shared resource seats", choose the resource to use. In this case, select the gamemaster resource and in seats, enter value "1".
Finally, once you have shared the aforementioned resource with different services, at the exact moment a booking is made in one of them, the gamemaster will start being blocked for as long as the event's time lasts; therefore it can't make more bookings in the same game or other that shared the same gamemaster's resource.
For example, one booking has been made on the P7 - Escape Room R 1 service, and therefore, as it shares the gamemaster's resource with P8 - Escape Room R 2 service, both services will show 8 seats available, as depicted in the image below.


Comments
0 comments
Please sign in to leave a comment.